
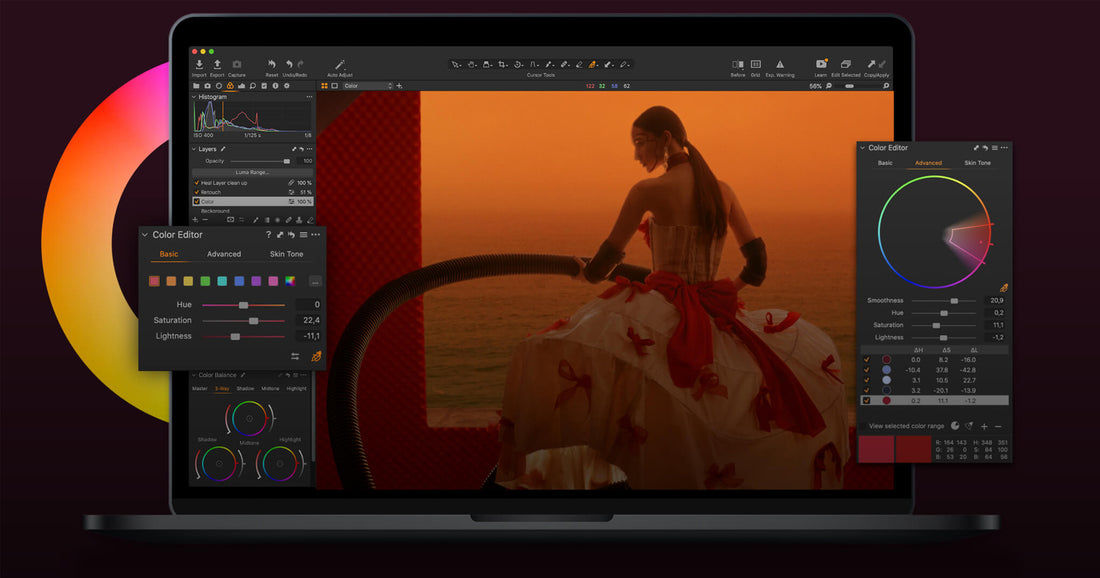
The Capture One team has added a new feature as Style Brushes. Style Brushes are what the company calls a “new concept” in Capture One that allows for the application of local adjustments directly on an image without having to create a layer and specify those adjustments manually.
Style Brushes were introduced in Capture One 21 (14.1.0) to facilitate the process of applying local adjustments to the image. Instead of creating a Layer, brushing a mask, and specifying the adjustments manually, the utilization of Style Brushes will streamline the workflow tremendously.
By default, the Style Brushes tool is located in the Exposure tool tab under the Layers tool. This tool is located in the scrollable area but you may always reposition it to the pinned area by clicking on the Action menu (…) icon and selecting Move to Pinned Area.
To add the Style Brushes tool to your workspace, click on the tool tab area and select Add Tool -> Style Brushes.

How to use Capture One styles brushes
How to install Capture One styles brushes?
Step 1. Copy the .COSTYLEBRUSH files.
Step 2. Locate the relevant system folder to paste the files into it.
For Mac users
Navigate to Application Support folder: – /Users/[your user name]/Library/Application Support/Capture One/
NOTE: The User Library is hidden by default in modern macOS releases. You can quickly access it in Finder, select Go -> Go to Folder and paste “~/Library/Application Support/Capture One” without the quotes. Do not miss ~ sign.
For Windows users
Go to C:\Users\[your user name]\AppData\Local\CaptureOne
NOTE: AppData folder can be also hidden by default.
Follow these steps to show hidden folders on Windows: Unhiding the AppData folder on Windows.
Find the StyleBrushes folder and paste the files into it. You can create additional subfolders for the better organization of your files.
Now restart Capture One.