
Getting used to new software is rarely easy – but it doesn’t have to be frustrating. If you are considering switching from Lightroom to Capture One, here are 11 tips for making the transition easy.
1. Interface
There are a few things to take notes of when switching from Lightroom to Capture One:
No modules! The interface in Capture One uses one main window, where all tools are organized in Tool Tabs.
The default layout has tools to the left and browser to the right of the viewer.
To choose a layout more similar to Lightroom, simply select ‘Window > Workspace > Migration’. This will provide a workspace that more closely resembles Lightroom’s layout.
Most tools in Capture One can be re-organized, moved freely around and even scaled, by simply clicking the Tool Title and dragging. Parts of the interface can also be hidden. For an easy overview, use the View menu.
There is a pin-able section for the tools you use the most, and a scrollable section for the ones you would also like in the tool. This gives an excellent overview of the tools available and easy access to them when needed.
2. Catalog or Session?
Capture One offers two ways of organizing your images. Catalogs and Sessions. What are they?
Catalog
Just like Lightroom, you can import your images to a Capture One Catalog. You can choose to keep your images in their current location, or copy them inside the Catalog. A Catalog is a database that contains information about metadata, keywords, ratings etc. for each image.
When importing, organizing or editing your images, Capture One updates the database with this information. This is a very useful way of working with larger image collections.
You can even import your Lightroom Catalog directly into Capture One!
Session
A Session provides a more simple, folder-based workflow with a default structure and the ability to browse any folder on your computer without having to import. Adjustments are placed in a subfolder next to the images. Sessions are suitable for tethered shooting, individual jobs etc.
You can use one or the other – or both. Watch this webinar (60 minutes) to get a full overview of the mechanics and benefits of both types.
3. Presets = Styles
What’s called presets in Lightroom is called Styles in Capture One. They work in a similar way and are easily adjusted after applying. Capture One also features Presets, which only includes one tool, making them accessible from within the tool they use. To summarize:
Style: Pre-defined adjustments including multiple tools.
Preset: Pre-defined adjustments including only one tool.
To learn more about Styles and Presets when switching from Lightroom to Capture One, watch this tutorial (5 minutes).

4. Layers
Layers in Capture One provide similar functionality as Brushes in Lightroom. However, they work more like Layers work in Photoshop, where each layer has a mask. If we stick to Adjustment Layers, you have two initial options:
New Empty Layer – The default option when clicking the plus-icon in the tool. This will create a new layer without a mask on it. To apply the effect of any adjustments, you need to mask the desired area with the brush.
New Filled Layer – By long-pressing the plus-icon, you can choose this option. This will create a new layer with a solid mask on it. Any adjustments will show on the entire image, but you have the option to erase parts of the mask or decrease the opacity of the whole layer.

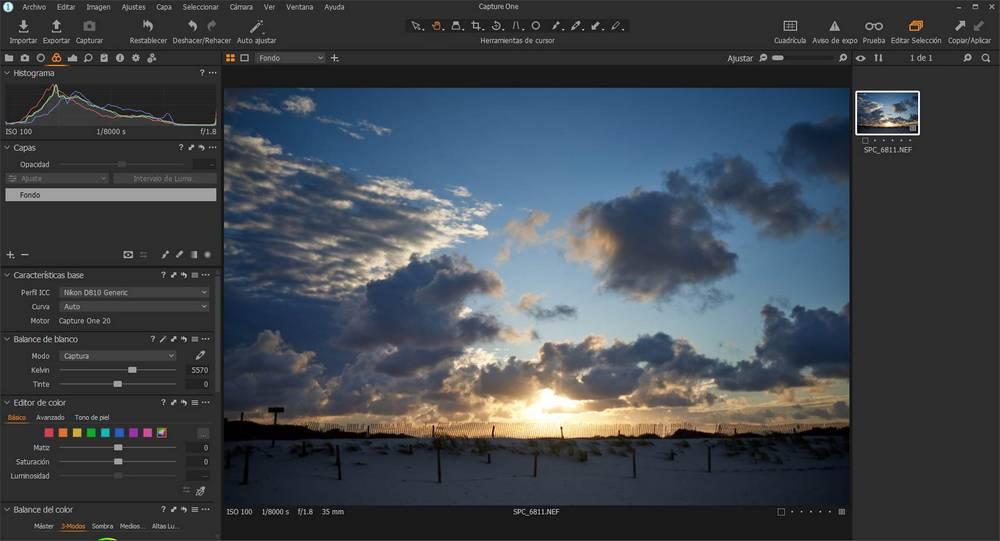
5. Color Editor (HSL)
The way to adjust Hue, Saturation and Lightness (HSL) in Capture One is a bit different from Lightroom. The Color Editor is split into Basic, Advanced and Skin Tone. The Basic part is split into six color ranges, but they don’t quite match Lightroom’s HSL tool.
For an easy transition from Lightroom to Capture One, download this Color Editor Preset, which provides the same eight color ranges as you know from HSL in Lightroom. They will show up in the Advanced part of the Color Editor.

6. Copy adjustments
To copy adjustments from one image to others, click the arrow-up icon in the top right corner. Capture One automatically detects changed adjustments and puts them in the clipboard. Control which adjustments you want copied from the clipboard, and click the arrow-down icon to apply these adjustments to the selected images. The process of copying adjustments makes your transition easier when switching from Lightroom to Capture One.
For example, crop settings and Layers might not always be useful on other images.
7. Color Balance
The Color Balance Tool will make color grading easy and fast. It’s like Split Toning, but with more options.
The Master channel works like an overall visual White Balance tweaker; the whole image will be affected. Shadow, Midtone and Highlight will tone each part of your image with the hue and saturation of your choosing.
The luminosity slider to the right provides additional control of the contrast of the image while color grading.

8. Process Recipes
Process Recipes work a bit like Export Presets – but you can select multiple at a time! Each recipe will export a variant of the image to a size, format and location of your choice.
The real power of Process Recipes comes from Tokens. You can export images into multiple folders, give them specific sub names and much more based on dynamic information. Once Process Recipes are set up to your workflow, they will save you time!
9. Edit All Selected Variants
When exporting, deleting or adjusting multiple images at a time, make sure to enable ‘Edit > Edit All Selected Variants…’. Otherwise you will only export/delete/adjust the highlighted image in your selection. You can also toggle the feature on this icon:

10. Shortcuts
In any software, shortcuts make lives easier. This is no different in Capture One. In addition to an extensive default list of shortcuts, you have the option to add shortcuts for almost anything. Including changing all the default shortcuts.
Go to ‘Capture One Pro 11 > Edit Keyboard Shortcuts…‘ if you’re on a Mac, and ‘Edit > Edit Keyboard Shortcuts…‘ if you’re on a Windows computer. First step is to duplicate the default and create your own list. Then you can edit away!
11. Instant tethered capture
Capture One was initially designed 20 years ago as a tether software, meaning it would transfer an image from a connected camera to the computer, and show it on the screen.
For an industry-leading tethered workflow, simply create a new Session, connect a supported camera and start shooting.